Import and Export Excel data into SQL Server using SQL Server Integration Services(SSIS)
Introduction
This article covers the steps for importing and exporting data from Excel to SQL Server using SSIS (SQL Server Integration Services).What is SSIS?
- SSIS stands for SQL Server Integration Services.
- A powerful ETL (Extract, Transform, Load) tool developed by Microsoft.
- Used for data migration, integration, and transformation between different data sources.
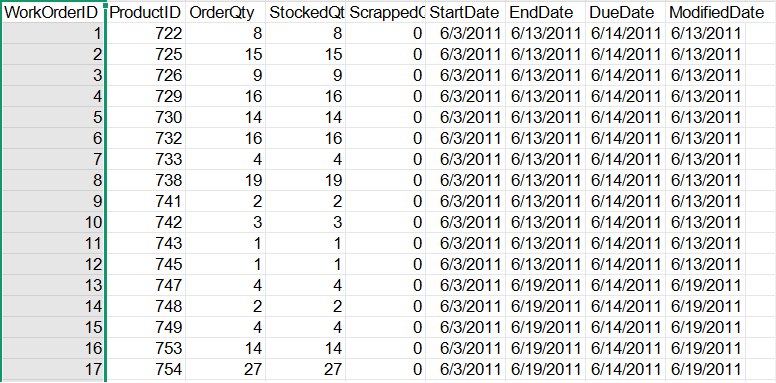
What we need here is, we need to transfer data from the given Excel file to the SQL Server data table using SQL Server Integration Services.
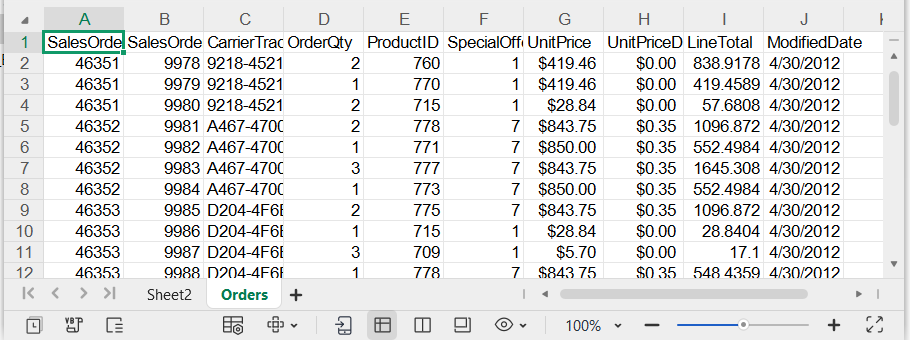
Excel File Data
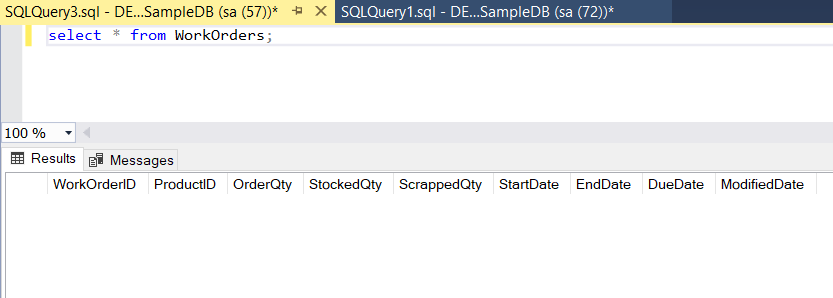
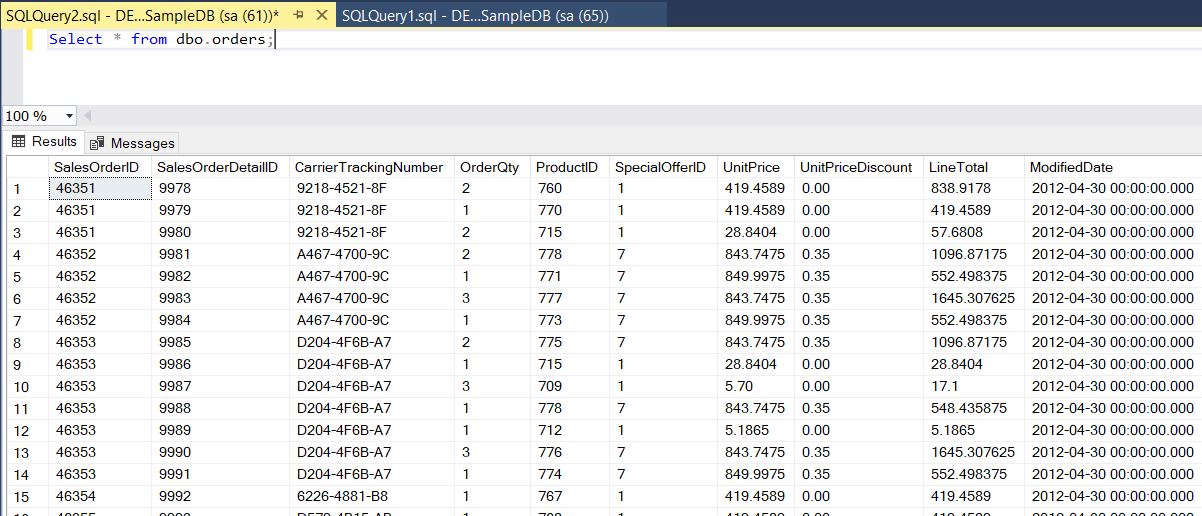
SQL Table Data
1. Create a Project
Create a new project in Visual Studio. In the Create a new project Dialog Box, select Integration Services Project and press Next button and the next dialog box which is like bellow.
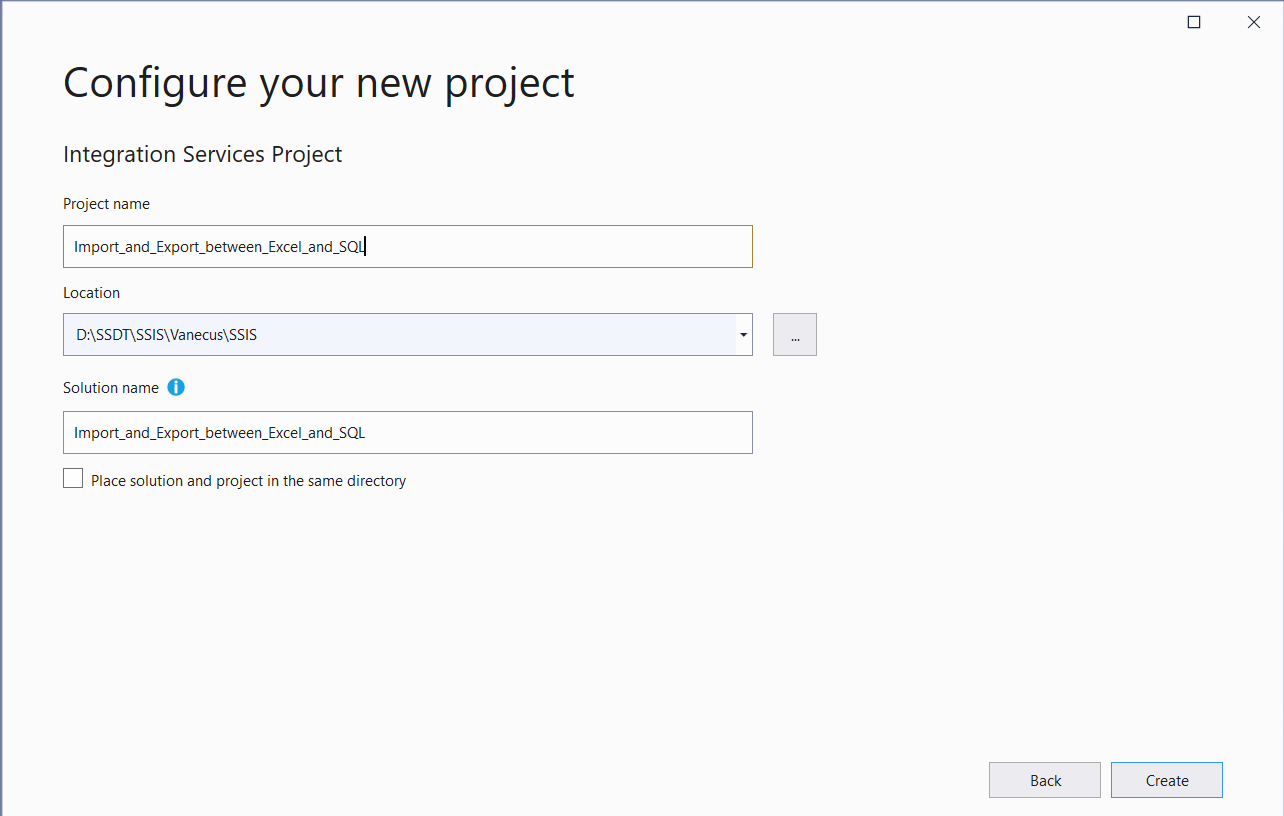
In the above dialog box, give a Project name, suitable saving location and then press create button.
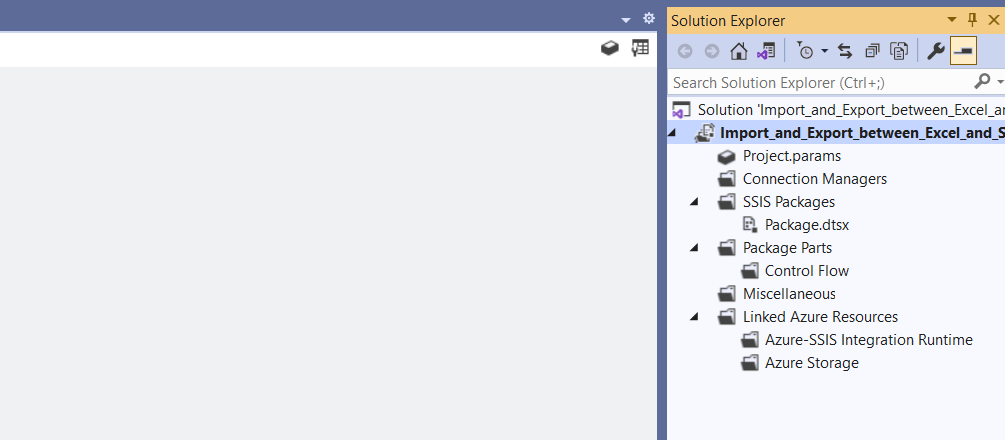
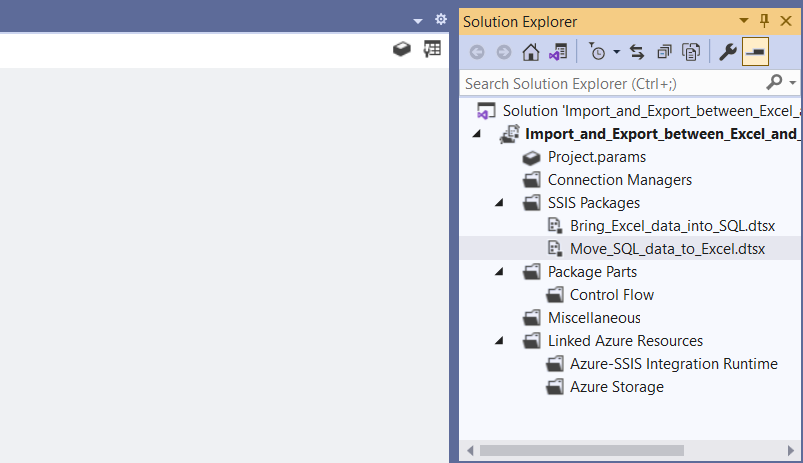
SSIS default project structure looks like this.
With SSIS, you can seamlessly manage data movement between SQL Server and Excel through two key processes:
- Import: Bring Excel data into SQL Server for storage and analysis.
- Export: Move SQL Server data to Excel for reporting or sharing.
Import: A) Bring Excel data into SQL Server
2. Create SQL Server Connection
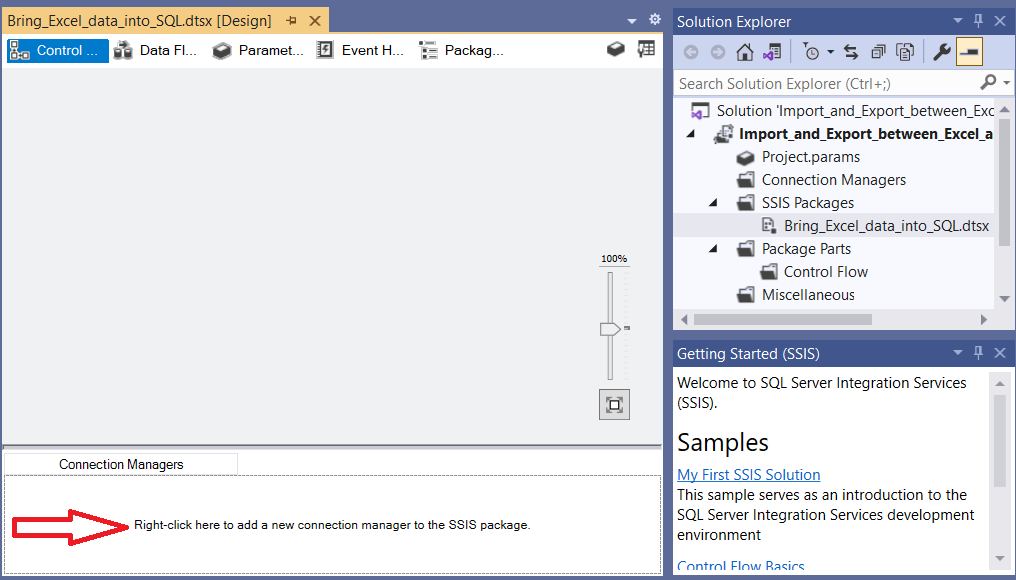
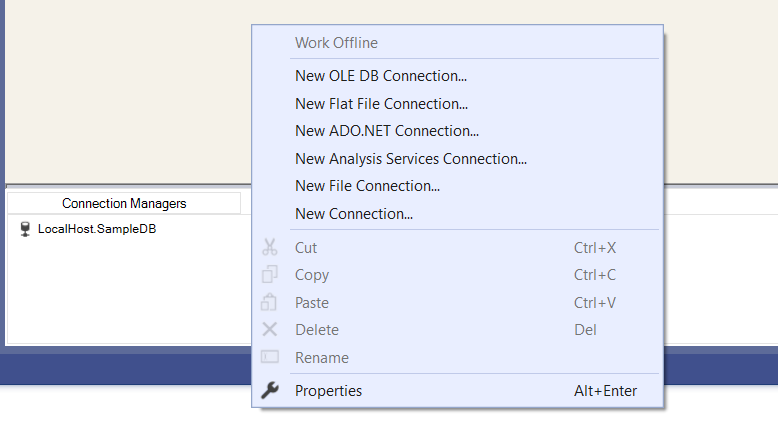
In the Solution Explorer window, we rename default Package.dtsx to Bring_Excel_data_into_SQL.dtsx and Right-Click on the Connection Managers window at bottom(red arrow), select New Connection... from pop-up menu and from next Add SSIS Connection Manager dialog box, select OLEDB Commection Manager for OLEDB connections.

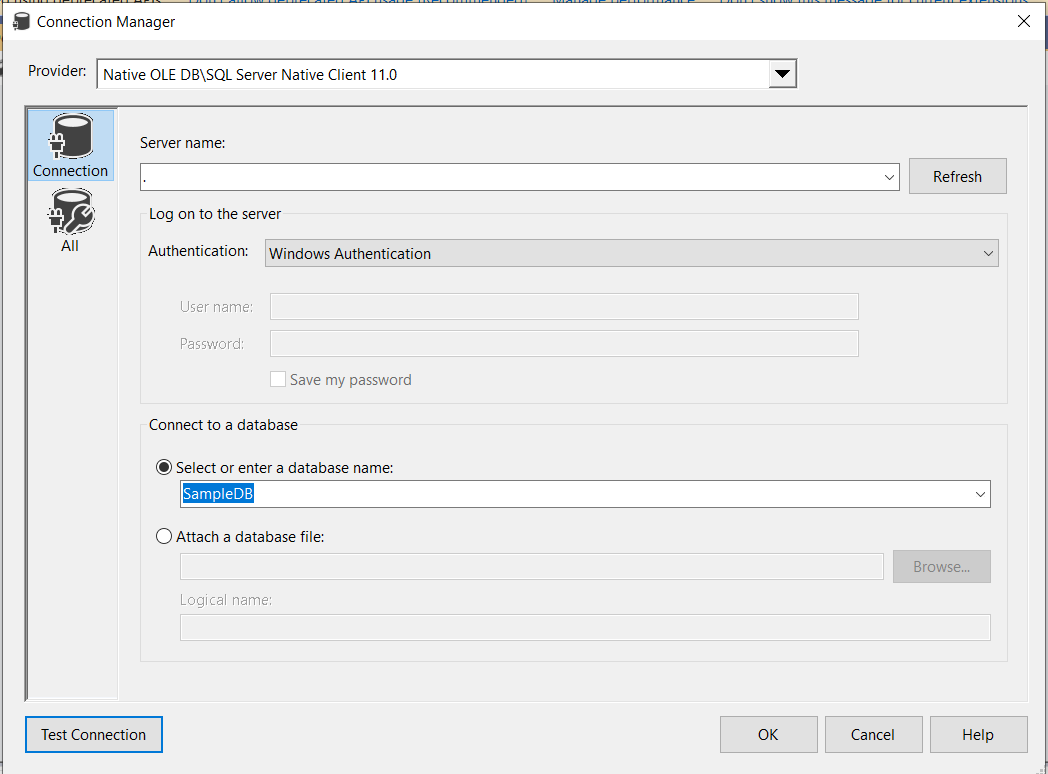
Click Add and click the new connection and enter the server name, authentication, user name, password, select database, check connection by pressing Test Connection button and click OK button.
3. Create a Data Flow Task
The Data Flow Task in SSIS is designed to facilitate the extraction of data from various sources, apply necessary transformations,
and load it into diverse destinations.
Drag and drop the data flow task from SSIS toolbox to Control Flow.
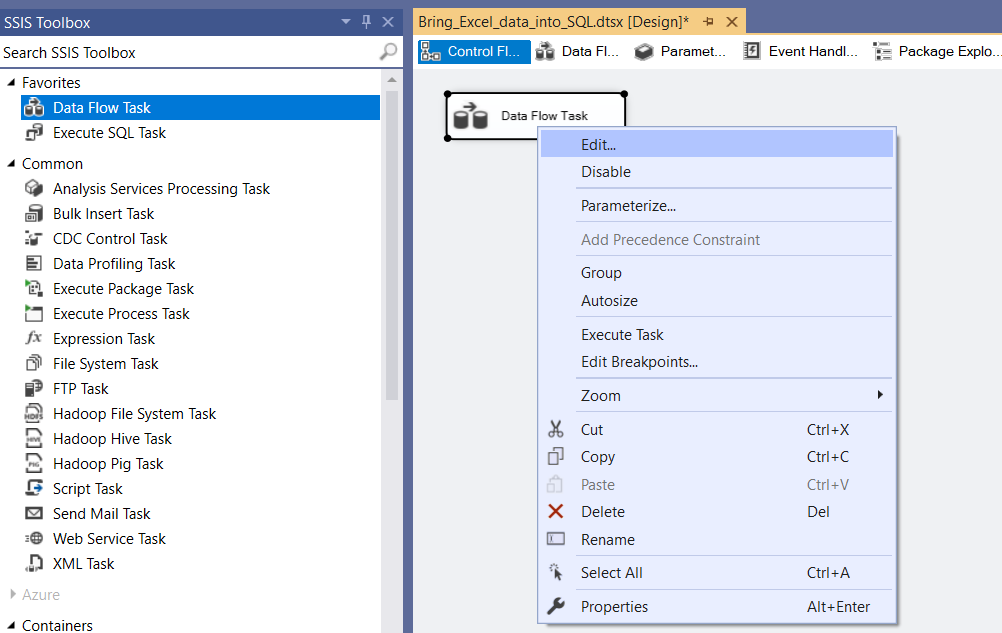
Double-Click on Data Flow Task or select Data Flow Task, Right-Click of the mouse button and Click Edit from the pop-up menu. Double-Click or Drag and drop Excel Source from SSIS Toolbox.
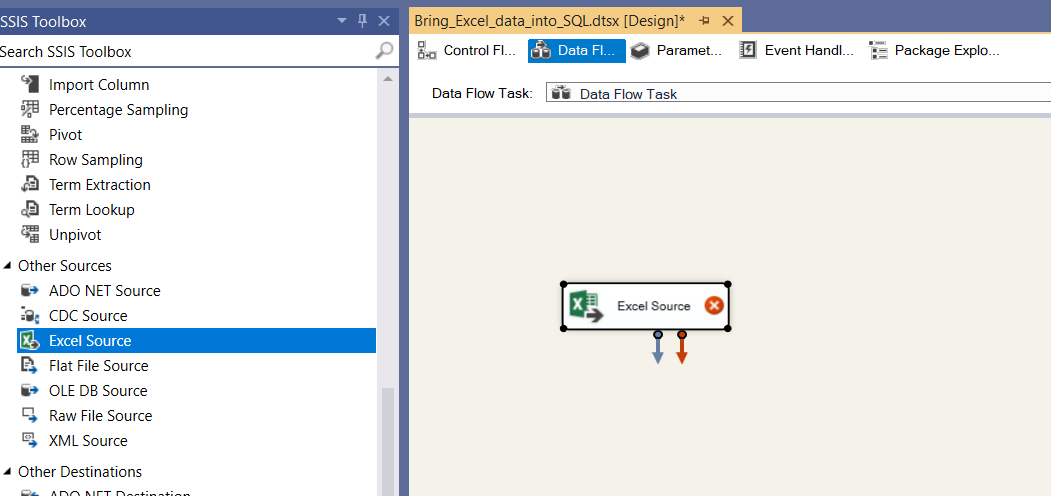
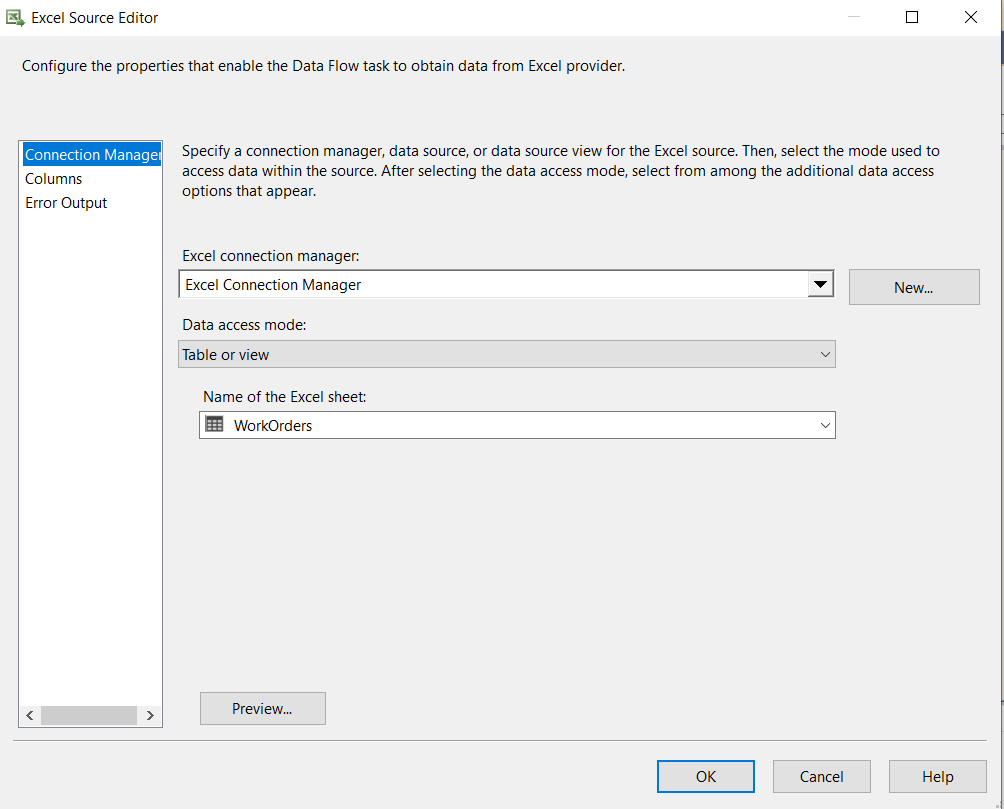
Now Double-Click on Excel Source and On Excel Source Editor dialog box Click New... button and from next dialog box Excel Source Editor, Click Browse... button and select WorkOrders.xls file and click OK button. Then from Excel Source Editor dialog box select WorkOrders and Click OK button.
Now drag and drop the OLEDB Destination, drag the green arrow from Excel Source and connect to OLEDB Destination.
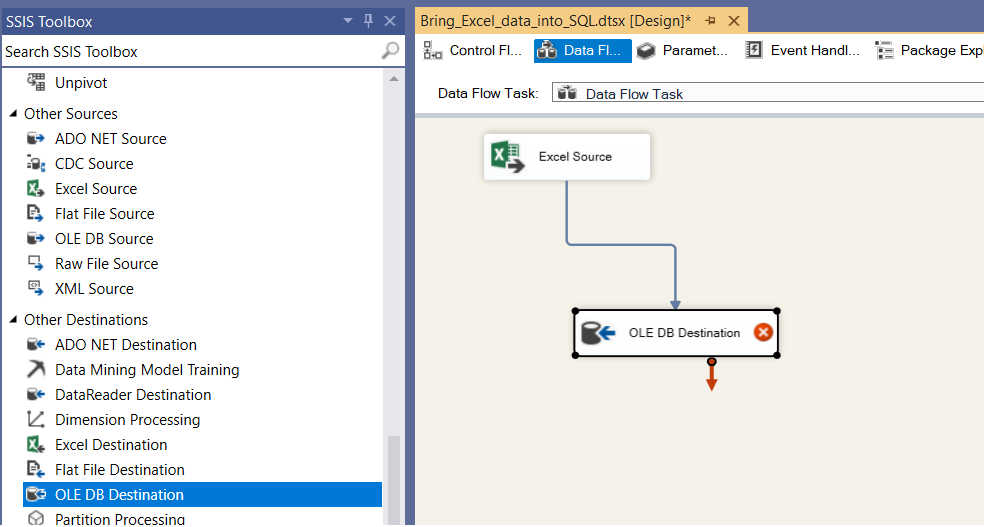
Double click on OLE DB Destination and select connection manager and select the name of the table from Name of the table or the view drop down combo box and mapping for columns

For executing task, select Bring_Excel_data_into_SQL.dtsx package and Right-click mouse button and click Execute Package from pop-up menu.
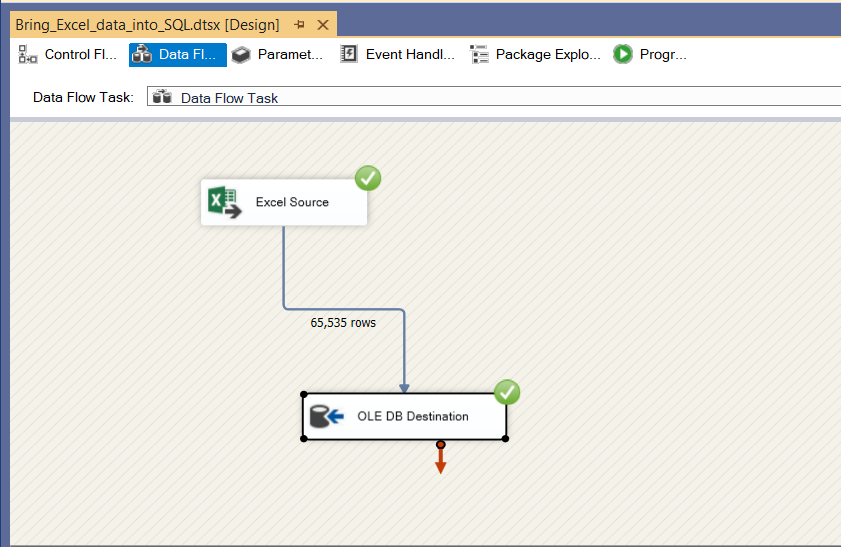
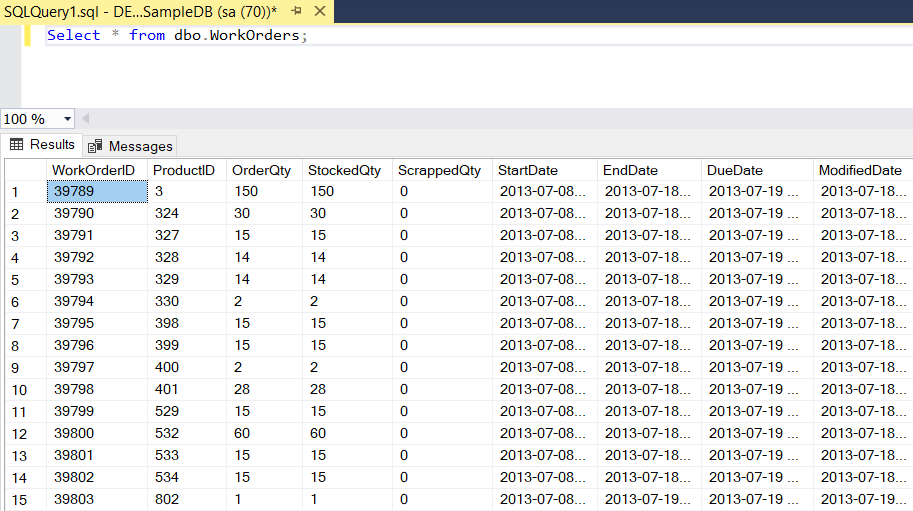
Now we see both tasks are successfully executed and check the SQL Server database table if the data is inserted into the table.
Export: B) Move SQL Server data to Excel
Now we send data from orders table of SampleDB database to Excel worksheet. We check the data from database and worksheet.
Database table
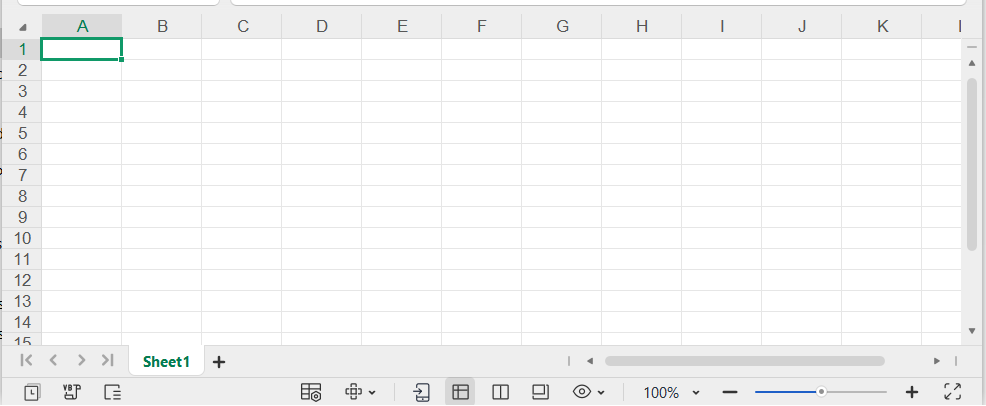
Excel Worksheet
2. Create SQL Server Connection
In the Solution Explorer, select SSIS Packages, Right-click of the mouse button, Click New SSIS Package from pop-up menu and rename Package1.dtsx to Move_SQL_data_to_Excel.dtsx.
Now connect to the SQL Server SampleDB database following 2. Create SQL Server Connection of
Import: A) Bring Excel data into SQL Server.
For Excel WorkSheet Connecton, Right-click on the Commenction Managers window at bottom, select New Connection... from
pop-up menu. In the next dialog box(Shown in previous 2. Create SQL Server Connection) Add SSIS Connection Manager,
select EXCEL Connection manager for Excel files and click Add... button.
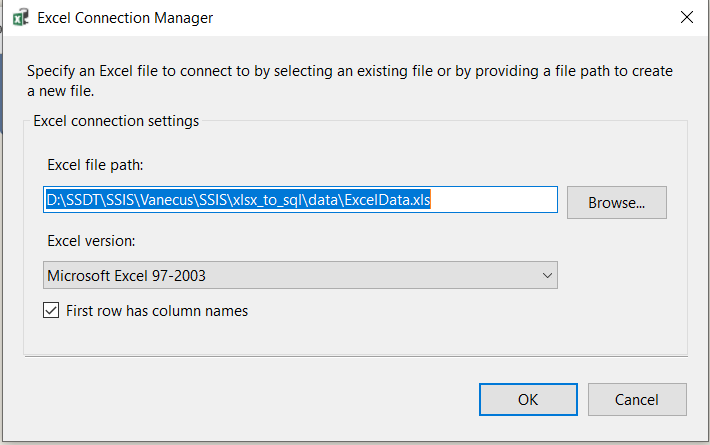
In the next Excel Connection Manager, click Browse... button and select ExcelData.xls file from the target folder as shown bellow and Click OK.
3. Create a Data Flow Task
For Data Flow Task in this section follow Import: A) Bring Excel data into SQL Server.
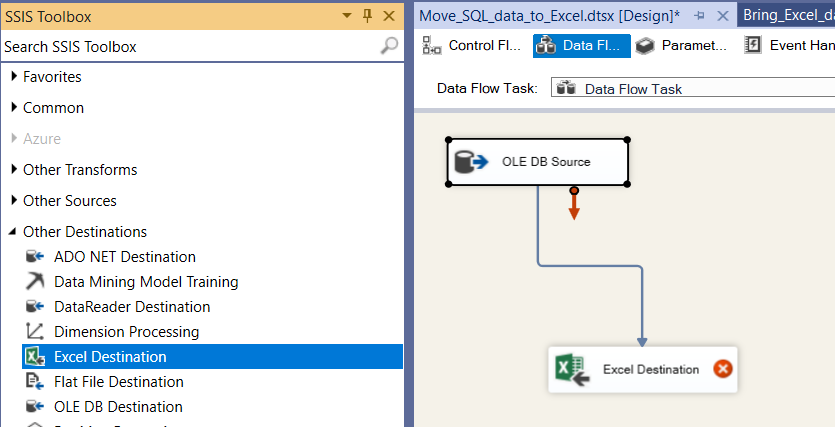
Double-click the Excel Destination, in the Excel Destination Editor, click Excel connection manager drop-down combobox, select Excel connection manager and click New... button at the right side of Name of the Excel sheet combobox.
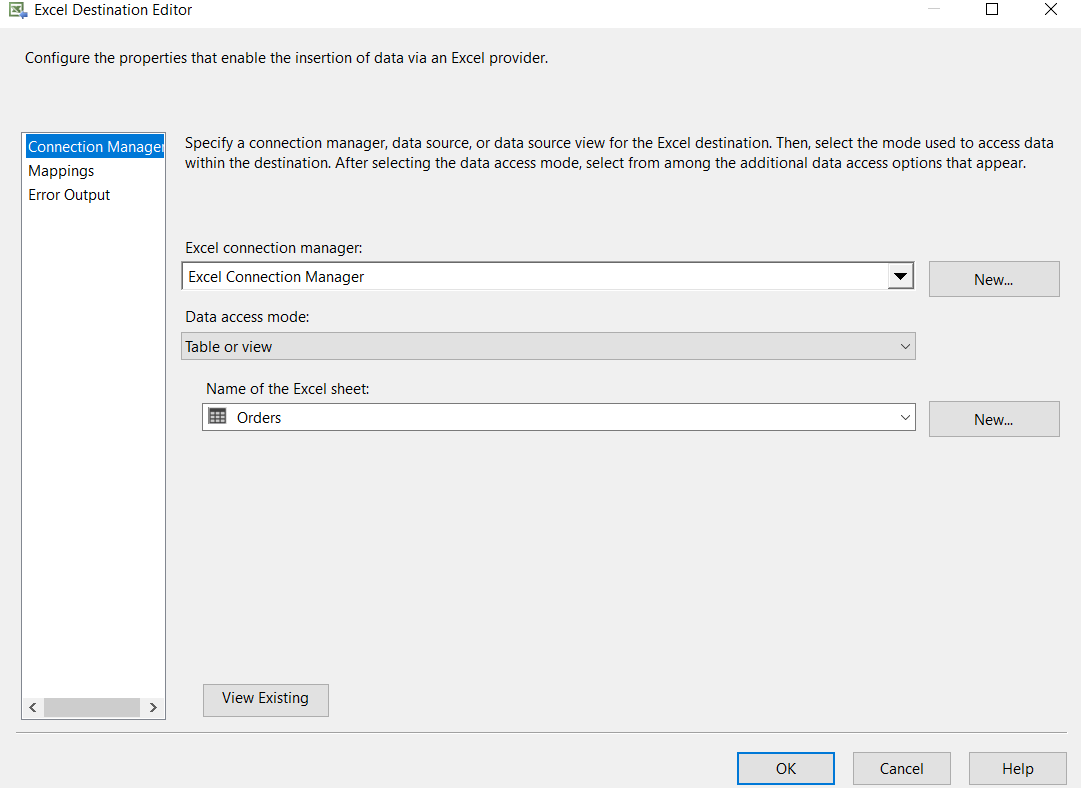
In the next dialog box give table name Orders and click OK button. Then click the down-arrow of Name of the Excel sheet combobox, select Orders, click Mappings from the left panel, map input column and Destination column, in general they are automatically mapped and click OK button.
For running the package, right-click on the Move_SQL_data_into_Excel.dtsx and click Ececute Package from pop-up menu.
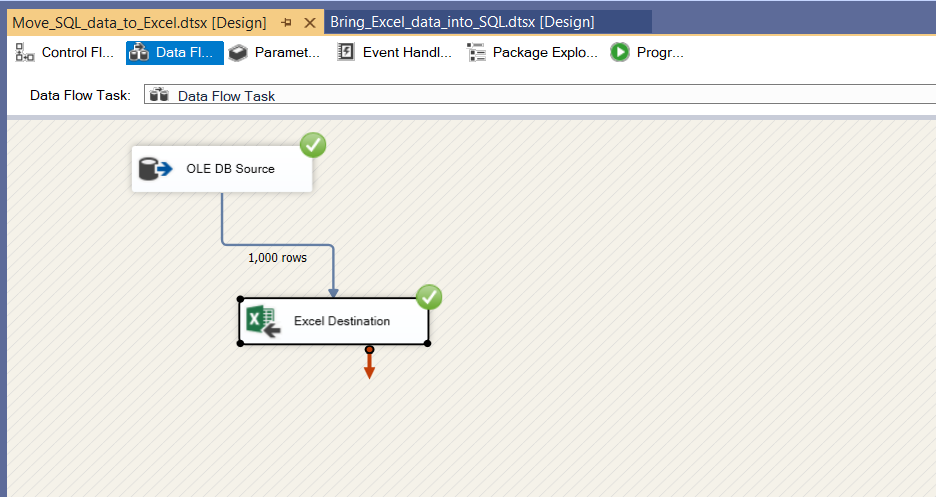
Now we check our Excel Sheet.
Conclusion
In this article, we illustrated how to Import and Export Excel data into SQL Server Database using Visual Studio Integration Service Project.

Image:freepik